
How to measure your body for clothing size charts
Advertisement
Taking accurate body measurements requires a flexible fabric tape measure held parallel to the floor against your skin or form-fitting undergarments without compressing your tissue. Recording these specific dimensions allows you to bypass unpredictable lettered sizing and compare your physical profile directly against an online retailer's posted chart.
This method helps budget shoppers prevent costly return shipping fees, restocking penalties, and wardrobe disappointments, though you must account for fabric stretch and individual garment construction before selecting a final size.
Gather the proper tools and prepare your posture
Before you begin to measure body for clothes, you need the right type of measuring tape. A stiff metal carpenter tape bends awkwardly around curves, adding artificial inches to your results. Instead, acquire a soft vinyl or fiberglass tailor tape that measures at least sixty inches in length. Vinyl tapes resist stretching over time, whereas woven cloth tapes can warp if pulled repeatedly. Keep a notepad or your phone nearby to record each number immediately so you do not rely on memory.
Advertisement
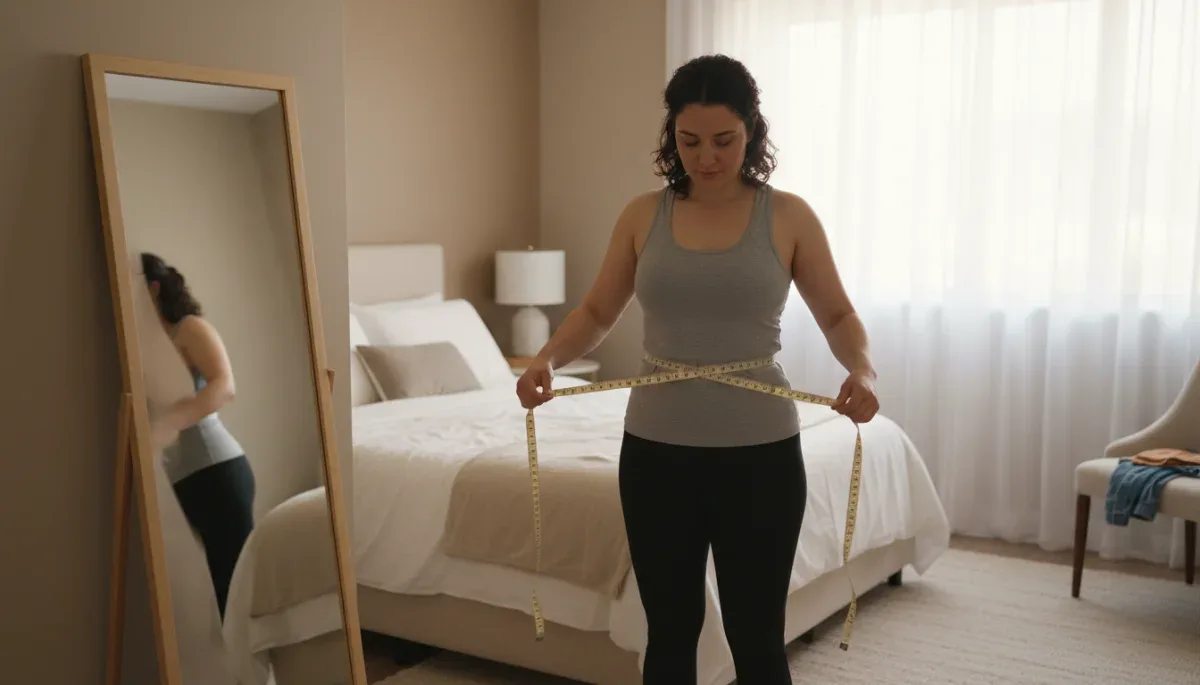
Your physical stance directly affects your numbers. Stand straight on a level, uncarpeted surface with your bare feet or thin socks placed roughly shoulder-width apart. Look straight ahead rather than craning your neck downward, because bending your head forward changes the contour of your shoulders and chest. If possible, stand in front of a full-length mirror to check that the tape remains flat across your back. Enlisting a trusted friend to read the tape while you maintain natural posture produces the most consistent figures, though self-measuring works well when you monitor your reflection carefully.
Clothing layers distort circumferences by several fractions of an inch. Conduct your measurements while wearing basic undergarments, such as an unpadded everyday bra and lightweight briefs, or close-fitting base layers like athletic leggings. Empty your pockets completely, take off heavy belts, and avoid taking measurements immediately after a heavy meal or intense athletic training that causes temporary water retention or muscle swelling.
Measuring your bust and chest accurately
The bust or chest measurement governs the fit of tops, button-up shirts, dresses, tailored blazers, and outerwear. Wrap the measuring tape around the fullest part of your chest, ensuring the line travels directly across the nipples in front and horizontally across your shoulder blades in back. The tape must sit snug against the fabric of your undergarment without indenting the skin or pulling taut enough to buckle.
Breathe normally while taking this measurement. Expanding your ribcage artificially or holding your breath produces a distorted reading that leads to tight armholes and gaping buttons. Keep both arms resting relaxed at your sides; lifting your arms stretches the chest muscles and shifts the tape upward. If you are measuring without assistance, position the tape across your back first, bring both ends forward, rest your arms downward, and then note where the zero mark intersects the tape.
Techniques for accurate chest readings
- Wear the specific style of bra you intend to pair with the garment, as unlined bralettes, sports bras, and molded underwires reposition tissue differently.
- Verify in the mirror that the tape remains completely horizontal across your upper back rather than sagging toward your waist.
- Record the measurement at the midpoint of a gentle exhalation rather than after a deep inhalation.
- Note both your full bust and your underbust band measurement, as the difference between them informs structured bodice sizing.
Locating and measuring your natural waist
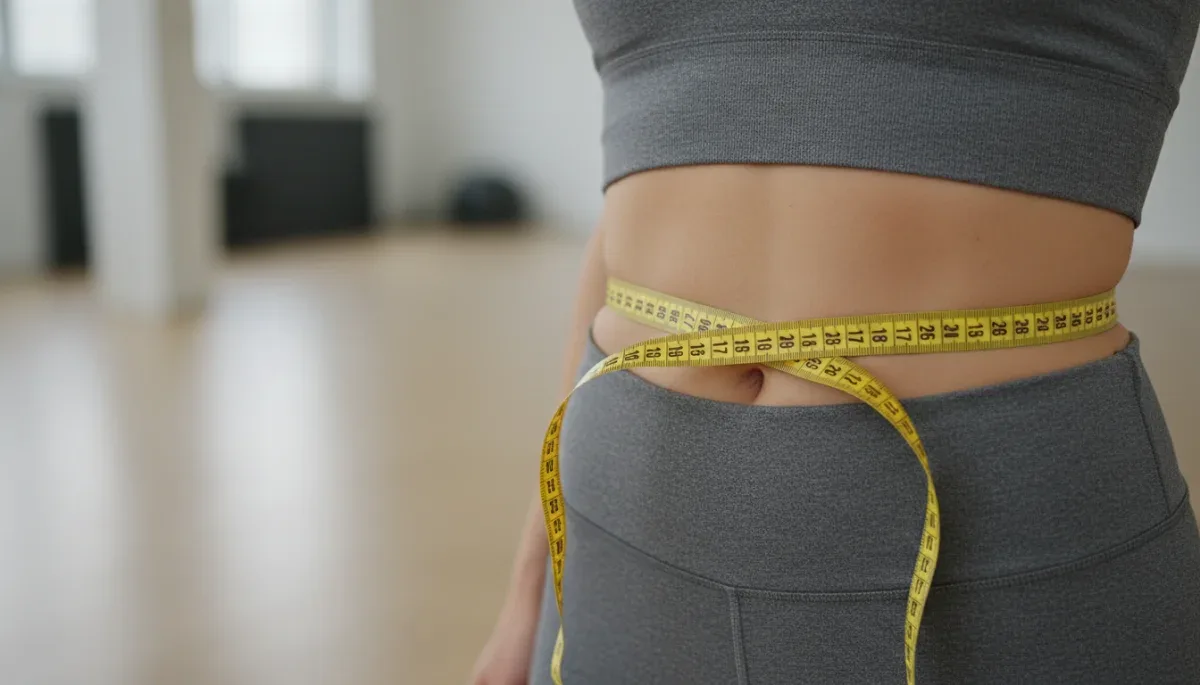
Online clothing charts frequently generate confusion around the waistline because everyday pants often sit below the biological waist. Your natural waist is the narrowest point of your torso, typically positioned an inch or two above your belly button and just beneath your lower rib cage. To find this crease easily, stand upright and bend sideways at your torso; the indentation that forms on your side marks your natural waistline.
Once you identify this point, loop the vinyl tape horizontally around your midsection. Do not draw your stomach inward or force your abdomen flat. Clothes selected against an artificially compressed waist will pinch painfully when you sit, walk, or eat. The tape should rest gently on the skin, allowing enough slack to slip a single index finger flat behind the band. This small buffer prevents garments from constricting your torso during normal daily movements.
Low-rise and mid-rise bottoms require a different approach. If an online shop specifies a lower waist or waistband placement, measure across the exact area where you prefer your pants to settle, which is often across the top edge of your hip bones or directly over the navel. Always review the product description to determine whether the chart references the natural biological waist or the cut of the garment waistband.
Measuring hips and inseams for bottoms
Hips represent the widest measurement of your lower body, and getting this dimension right is critical for trousers, pencil skirts, form-fitting dresses, and jumpsuits. Stand with your feet together so your heels and big toes touch. If your feet sit wide apart, the natural spread of your pelvis and thighs will exaggerate the hip circumference and result in bagging fabric across the seat.
Locate the fullest curve of your buttocks by viewing your profile in a full-length mirror. Wrap the tape around this widest point, making sure the line crosses the widest point of your hip bones in front. Keep the tape parallel to the floor at all times. A common error involves placing the tape too high across the high hip, which measures the upper pelvis rather than the fullest seat area.
The inseam measurement dictates pant length and prevents hems from dragging on the floor or riding above the ankles. The inseam measures the distance from the interior crotch point down to your desired hemline at the ankle or foot.
Steps to determine your correct inseam
- Stand barefoot against a flat wall with your heels touching the baseboard and feet placed six inches apart.
- Take a pair of non-stretch pants that fit you well in length, lay them completely flat on a table, and smooth out any wrinkles along the legs.
- Place the zero end of the tape directly at the intersection of the crotch seam where the front, back, and leg seams meet.
- Extend the tape straight down the inside edge of one pant leg until you reach the bottom edge of the hem.
- Compare this physical measurement against the inseam listed in the online product specifications, factoring in the heel height of your intended shoes.
Taking secondary measurements for specialized clothing
While bust, waist, and hips serve as the standard trio on most charts, fitted jackets, structured coats, and long-sleeved garments frequently demand secondary dimensions. Shoulder width is one of the most critical structural measurements because tailoring a coat shoulder after purchase is expensive and complex. Measure across the natural curvature of your back from the bony tip of your left shoulder joint to the bony tip of your right shoulder joint.
Sleeve length determines whether cuffs sit neatly at the wrist bone or bunch around your hands. To measure sleeve length, place your hand on your hip so your elbow bends at a ninety-degree angle. Have a partner anchor the tape at the base of the back of your neck, guide it across the top of your shoulder, down the outside of your arm over the elbow point, and terminate at the wrist bone. This bend accounts for the extra slack required when you extend your arms while driving or typing.
For fitted pants, rompers, and jumpsuits, thigh circumference and torso length also matter. Measure your thigh around its fullest part, roughly two inches below the crotch fold. For torso length, often called the vertical trunk, run the tape from the center of one shoulder, down between your legs through the crotch, and back up to the starting shoulder point. This figure prevents one-piece jumpsuits from pulling uncomfortably through the seat.
Interpreting size charts and garment ease
Once you collect your accurate numbers, you must evaluate how a specific brand presents its data. Online clothing retailers generally publish two distinct types of guides: body measurement charts and garment dimension charts. A body chart outlines the physical dimensions of the human figure designed to fit that size tag. A garment dimension chart shows the exact finished measurements of the fabric when laid flat on a cutting table.
When reading flat garment dimensions, remember that clothes require wearing ease to function. Wearing ease refers to the deliberate extra room engineered into a garment so you can sit, breathe, and bend without straining the seams. Non-stretch woven fabrics like linen, denim, and cotton poplin require at least two to three inches of positive ease at the bust and hips, and one inch at the waist. Stretch knits like jersey or spandex require little to no ease, and compression athletic wear often features negative ease, meaning the garment measures smaller than your physical body so it can stretch firmly into place.
If your numbers straddle two sizes, evaluate the silhouette and material composition. For stiff, non-stretch pieces, choosing the larger size ensures the fabric drapes cleanly without pulling, and a local tailor can take in excess volume if needed. For relaxed silhouettes or knit blends with elastane, opting for the smaller size prevents the piece from looking oversized or losing shape throughout the day.
At a glance
| Measurement | Key technique |
|---|---|
| Full bust | Wrap tape horizontally across fullest point and shoulder blades. |
| Natural waist | Find torso crease above navel and leave one finger of slack. |
| Full hip | Stand feet together and measure around widest part of seat. |
| Pant inseam | Measure crotch seam to bottom hem on a flat, well-fitting pair. |
Frequently asked questions
What if my bust, waist, and hip fall into three different sizes?
Select the size that accommodates your largest measurement for structured garments, then have the remaining areas altered if necessary. For separates, buy tops based on your bust and bottoms based on your hips.
Should I pull the measuring tape tightly against my body?
No, pulling the tape tight compresses your soft tissue and yields smaller numbers that cause garments to pinch. Keep the tape flush and smooth against the skin without digging into your flesh.
How often should I retake my body measurements?
Update your measurements every three to six months or whenever your clothing begins fitting differently. Weight distribution, hormonal shifts, and fitness routines alter proportions even if the scale remains completely steady.
Why do my measurements match the chart but the garment still fits poorly?
Size charts only reflect circumference and length, not posture, shoulder slope, or tissue distribution. Garment ease and fabric stretch also influence how clothes hang on different body types.
The bottom line
Consistently updating your bust, waist, hip, and inseam numbers removes guesswork from digital apparel shopping and protects your wallet from unnecessary return fees. When shopping across budget retailers, never assume your size at one store matches another. Always verify whether an online chart lists actual body measurements or flat garment dimensions before adding items to your cart.
Written by
Lucas Bastos
Lucas Bastos writes about budget fashion tips, celebrity style steals and seasonal fashion trends for news4shein.com. Each article explains how things work, compares published details such as prices, policies and program rules, and points readers to the official source before they decide.